
Share this:


This is an adaptation of the popular Spaceship fan duct for the new E3D Hemera extruder, along with some further advancements and goodies!
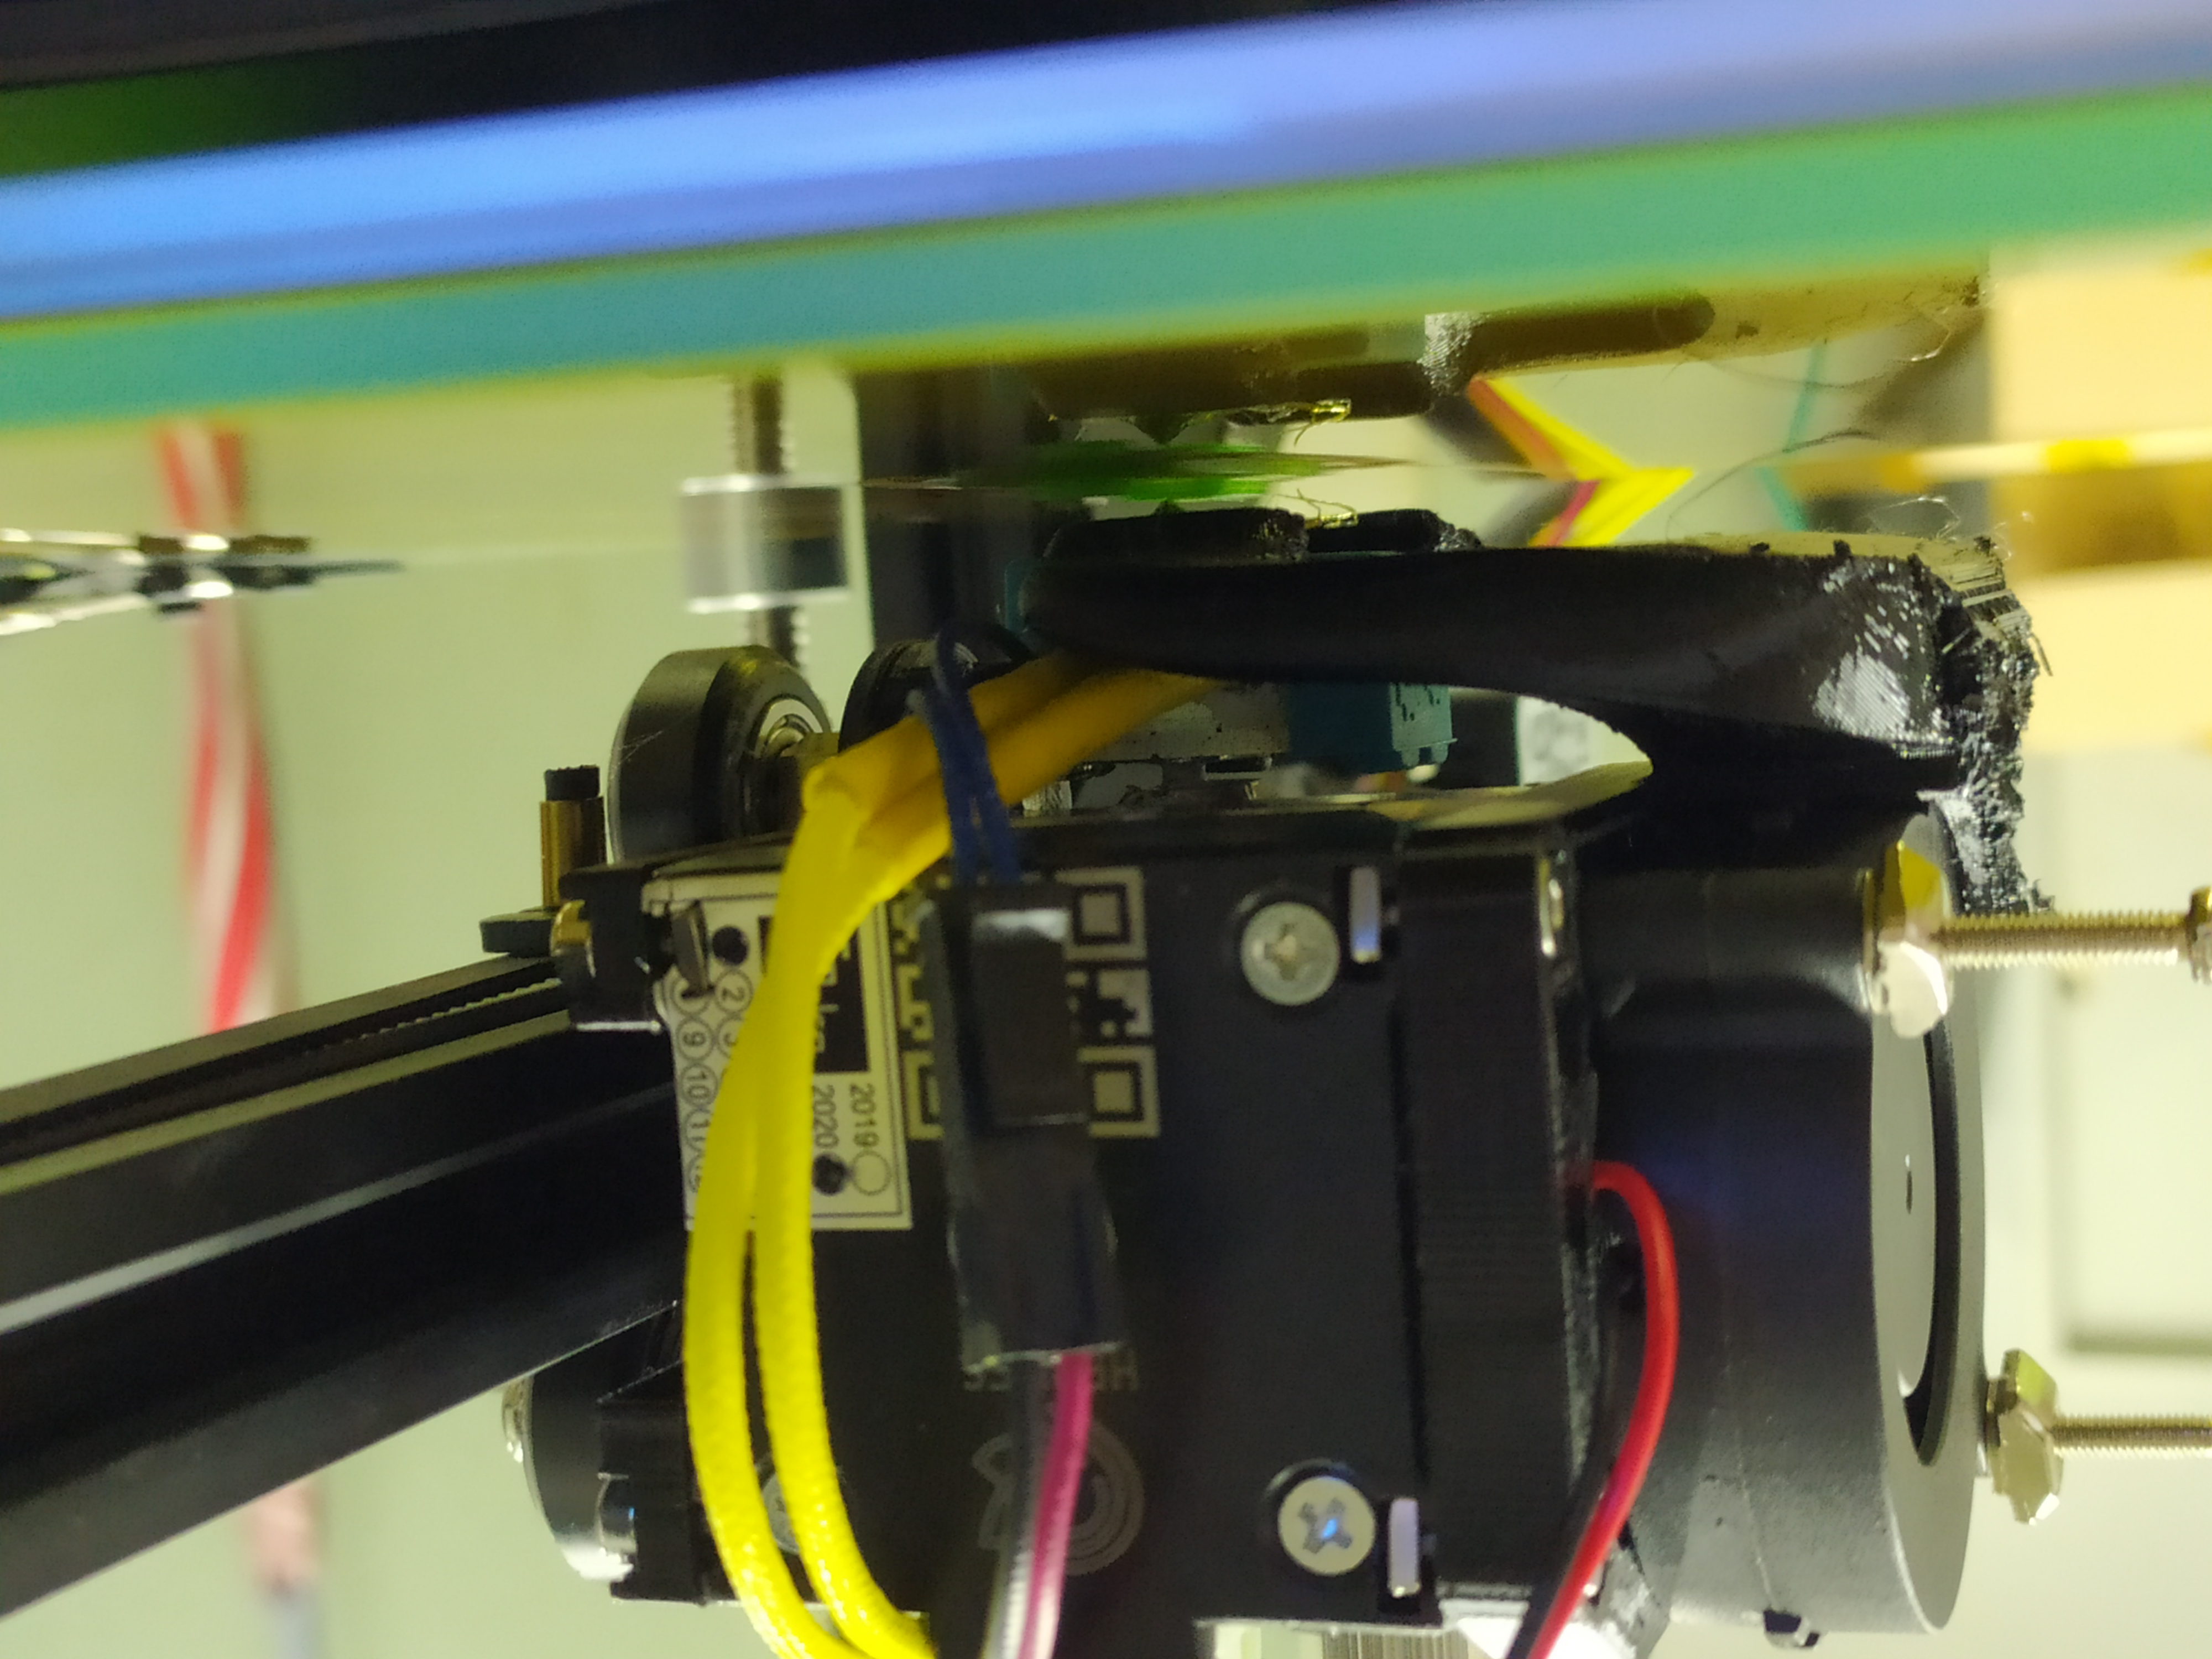
NOTE: The “NR” on the duct is the logo of my “Nightmare Rarity” printer. I have decided not to include this logo in the final STLs, but you can easily re-enable it or use something of your own instead in Blender.
Features
- Extremely high air flow. I was able to cool PLA decently at only 40% fan power.
- Tested using the water displacement test (5th picture). The center of airflow is neatly positioned right below the nozzle.
- Optional frontplate which features a mounting point for an LED breakout and a slide switch so you may illuminate your prints.
- Optional Sunon version of the duct. I have found that Sunon fans have a slightly larger dimensions and the standard duct dimensions don’t fit well. I would highly recommend their fans though!
Required Components
- 1x 5015 Radial Fan – I personally use Sunon fans: Link (tme.eu)
- 2x-4x M3x10 screw, countersunk – Required for mounting the frontplate onto the Hemera motor. I mount mine using all 4 screws, but you can probably get away with less.
- 2x-4x M3 nuts, square shaped – Same as above, required for mounting.
- 2x M3x20 screw – Required for mounting the part cooling fan. You can probably use any kind of screws for this. I use screws with hex heads along with washers.
- Optional 1x LED breakout – I use this one: Link (tme.eu)
- Optional 1x Slide switch – I use this one: Link (glaxio.co.uk)
- Optional 1x 2.5mm 12mm long wood screw, countersunk – Required for mounting the LED breakout.
- Optional ?x Wires – Some wires to wire up the optional LED part. 🙂
- Optional 1x Replacement 4020 fan – I have replaced the stock Hemera cooling fan with the following Sunon fan and it has been working well: Link (tme.eu)
- Optional 2x Screws for mounting the 4020 fan – The new cooling fan cannot be mounted with stock screws as they are too short. You need longer ones: Link (tme.eu)
Parts To Print:
- 1x Frontplate.stl OR Frontplate_LED.stl – The frontplate is required to mount the part cooling fan. There are two options. The normal frontplate is just there to mount the fan, while the LED version has a slot for a slide switch and a mounting point for an LED module. This can be wired to the regular Hemera cooling fan to provide some nice lighting on the model as it is printing.
- 1x Airduct.stl OR Airduct_Sunon.stl – This is the popular Spaceship fan duct, modified to dimensionally fit the Hemera. If you have a Sunon part cooling fan, use that version instead.
- Optional 1x V6_Dismounter.stl – This is an extra part I have added, which you can use to disassemble your old V6 hotends to move the parts over to your new Hemera extruder instead. 🙂
Printing Instructions
- The regular frontplate doesn’t need supports, but all other parts do. If printing the LED version of the frontplate, use plenty of supports as part of the mount will be floating in the air. The airduct needs supports as well. Be careful to avoid printing supports inside of the actual horns, as they will be nearly impossible to remove.
- Print all parts exactly as already oriented to maximize quality, strength and ease of printing.
- You may use 20% infill for all parts.
- You may print all parts at 0.2mm layer height.
Assembly Instructions
- Choose which parts you want to print (as explained above) and print them.
- If using the LED version of the frontplate:
- Do the wiring/soldering of the LED module and the switch before installing.
- LED module is installed onto the frontplate below using the small wood screw.
- Switch is friction fitted into the slots above.
- Please refer to the 4th picture to get the idea of how wiring works.
- Insert the square nuts into the Hemera motor and secure the frontplate onto it using 2-4 M3x10 countersunk screws.
- Slide the airduct onto the part cooling fan you will be using. Use the Sunon airduct if you have a Sunon fan.
- Screw the part cooling fan onto the frontplate using 2 M3*20 screws of your choice.
V6 Dismounter Instructions
- Want to disassemble your V6 hotends? First, remove the whole frontplate.
- Use 2 square nuts and 2 M3x10 countersunk screws to install the dismounter.
- Plug in your old hotend, heat up and disassemble!
I hope you enjoy this part cooler system, and if you have any questions or found some issues, be sure to comment! I will see what I can do!
As usual, I have also included the Blender file in case you want to edit it further.
This article was first featured at https://ift.tt/2RXCCnX on February 18, 2020 at 11:00PM by Thorinair


More Stories
Can this possibly be true? “Metal 3D printing is now possible on any 3D printer…with the right settings and a few minor upgrades like a hardened steel nozzle…” – July 2 2023 at 04:59PM
New NASA Funding Ignites 25 3D Printing Projects in Space Exploration – June 18 2023 at 04:34PM
Nvidia AI produces 3D models from 2D videos 3D printing applications forthcoming? – June 15 2023 at 02:55AM