
Share this:


2 years ago, I bought parts from Misumi to convert my original A8 to the famous AM8. Due to the Coronavirus quarantine, I was finally able to put the kit together.
I hadn’t run my A8 for over a year, due to the fact that I got an x5s-400 to print large pieces. I converted that machine to an all-metal hot end in order to print PETG for solid working parts. I used that printer to print this project instead of using my AM8 because I prefer PETG as a mechanical material even though the prototype I printed on the AM8 out of PLA looks far better.
When I finally put together the AM8, I was so surprised how well it printed. It rivals any other 3d printer I have ever seen. I have an original A8, so I delt with a few problems initially. It only caught on fire once! (Seriously, this happened, please use MOSFETs) After some soldering, I’m still using the same board, but that’s the next upgrade.
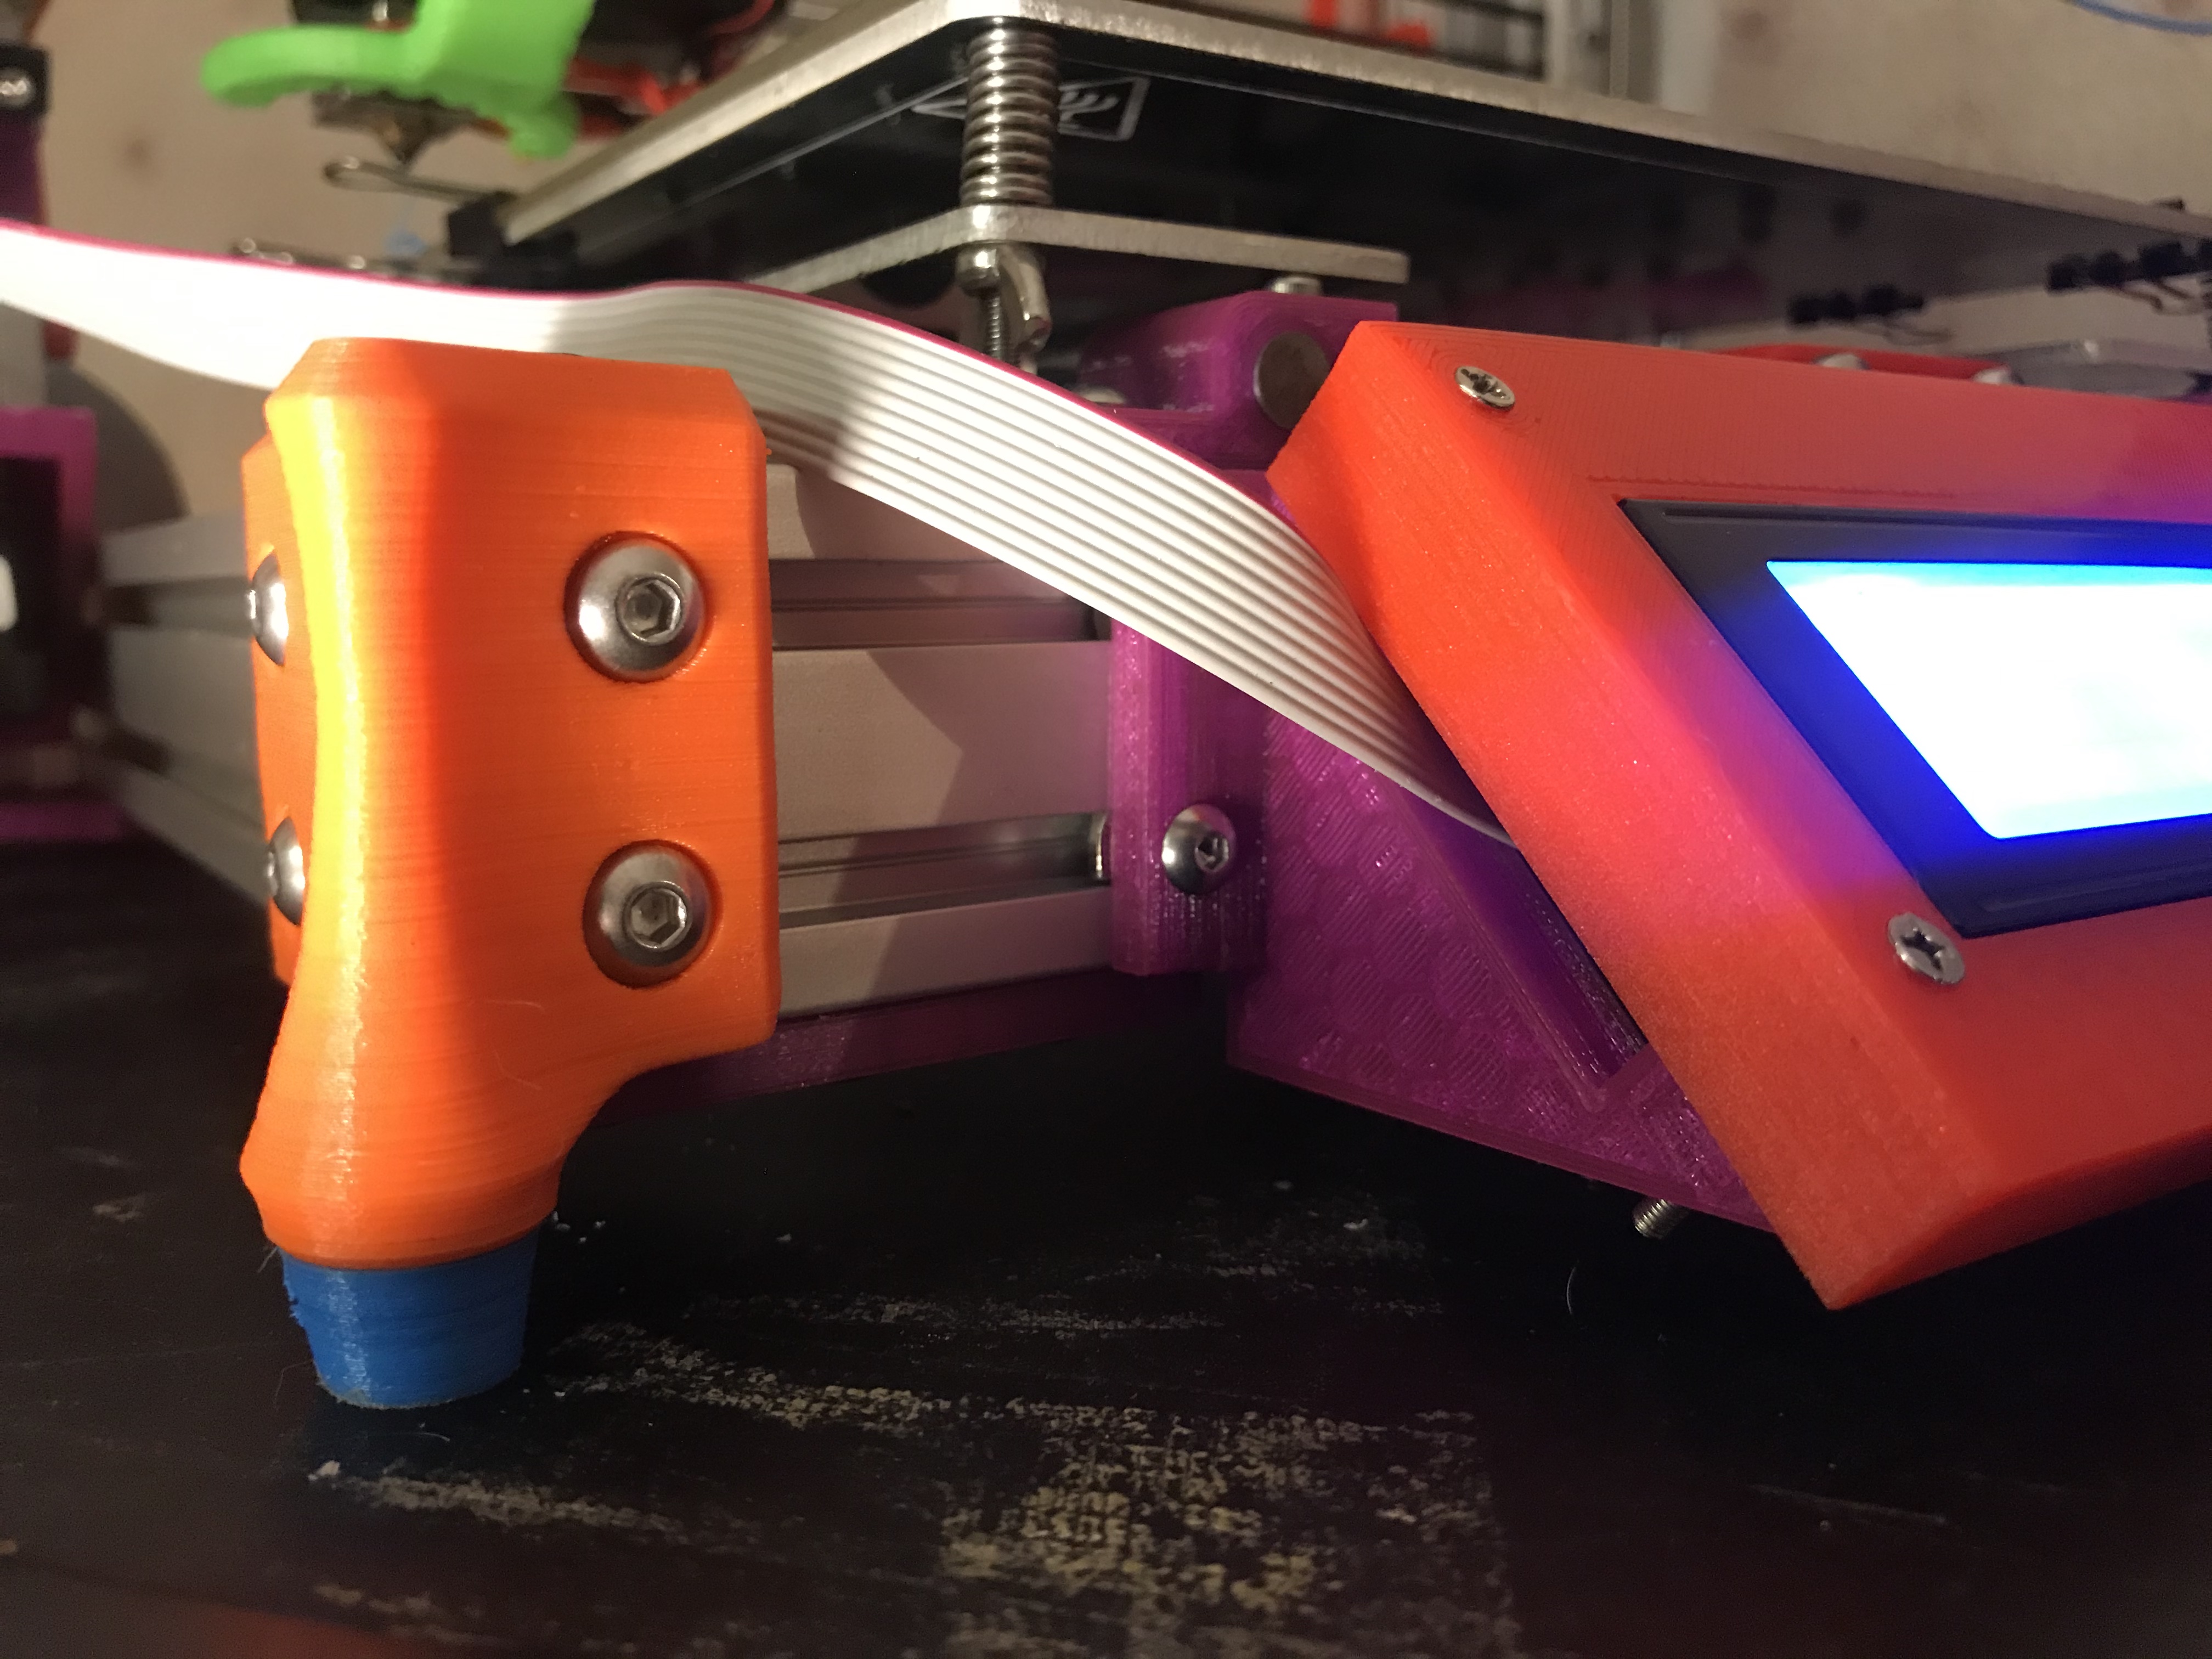
My only problem was that the front display did not fit on the rail of the printer without the entire printer resting on it. I think many people use rubber feet during the initial assembly, but since I didn’t have those parts and being quarantined, I was forced to come up with another solution. I decided to make the best part I could, splaying out the footprint of the printer as much as possible for as much stability as possible. This part also holds the corner together very tightly, because you can never have enough stiffness. It also uses TPU feet to dampen vibrations.
I recommend printing these parts in PETG and TPU.
The corner piece and the TPU foot are both designed to be printed upside-down. For the corner piece, use support material on the BED ONLY. After the print is done just use the back of a drill bit to pop it out from the back. Print 4 TPU feet and 2 corner pieces normally and 2 corner pieces mirrored.
Parts needed for assembly:
(7) m5 x 10mm Button head cap screws PER FOOT
(6) m5 T-nuts PER FOOT (three of these can be square nuts)
3mm Hex wrench
To assemble:
Screw TPU foot to corner piece.
Insert screws into each hole except top rear.
Attach T-nuts to the back of each screw. (You can use square nuts for the front 3 screws)
Slide corner piece onto AM8 from the side and tighten.
Insert the final nut into the top of 40×20 aluminum extrusion groove, slide into place under corner bracket, insert screw and tighten.
This article was first featured at https://ift.tt/3aqkM56 on March 25, 2020 at 09:08PM by Mastaba


More Stories
Can this possibly be true? “Metal 3D printing is now possible on any 3D printer…with the right settings and a few minor upgrades like a hardened steel nozzle…” – July 2 2023 at 04:59PM
New NASA Funding Ignites 25 3D Printing Projects in Space Exploration – June 18 2023 at 04:34PM
Nvidia AI produces 3D models from 2D videos 3D printing applications forthcoming? – June 15 2023 at 02:55AM